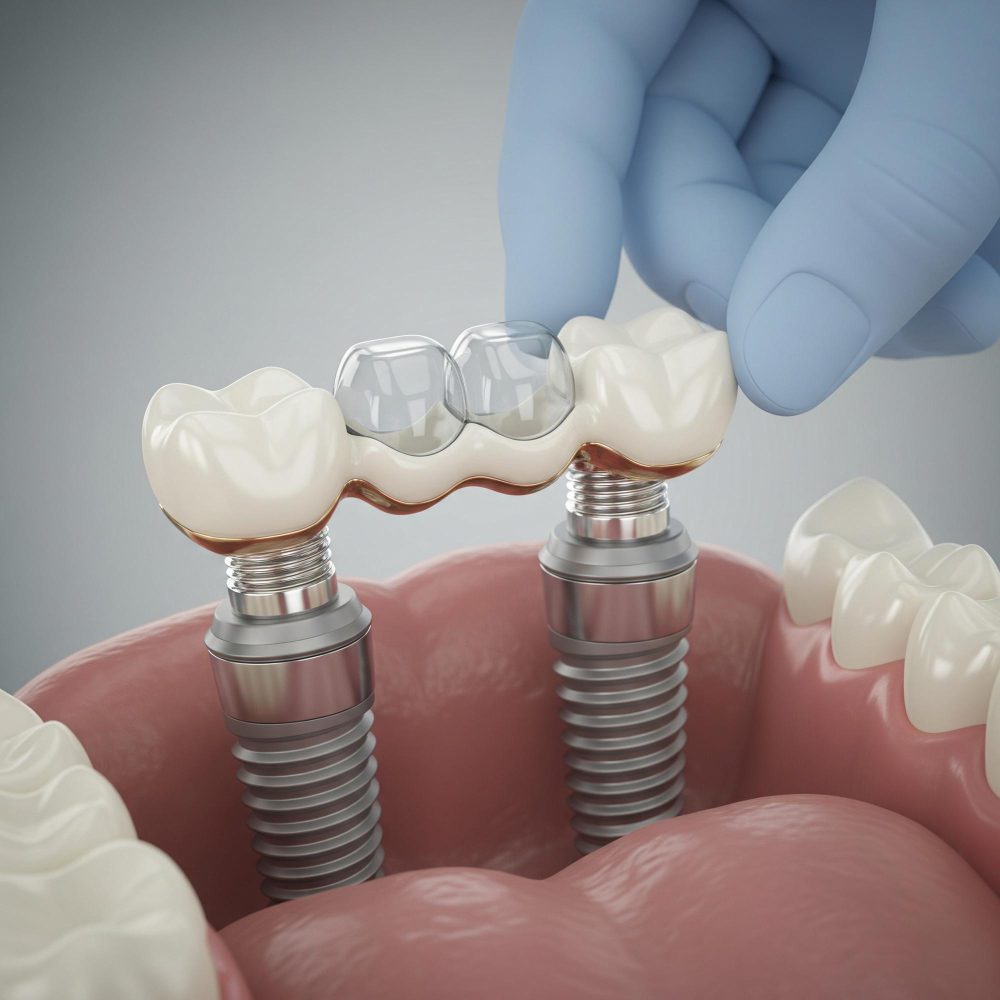
Introduction
If you’re a recently graduated dentist, root canal treatment (RCT) might seem daunting at first. It requires precision, patience, and confidence.
This guide breaks down the entire process in a practical and easy-to-follow manner, focusing on what you really need to know as a new practitioner.
Step 1: Clinical & Radiographic Diagnosis
- Ask the patient about symptoms (thermal sensitivity, spontaneous pain, biting pain).
- Perform a thorough clinical exam for decay, fractures, or swelling.
- Request a periapical X-ray to assess the root and surrounding bone.
- Confirm if it’s irreversible pulpitis or necrotic pulp before proceeding.
⚠️ Never start treatment without a clear and confirmed diagnosis!
Step 2: Anesthesia and Isolation
Use the appropriate local anesthetic (e.g., Lidocaine 2% or Articaine 4%).
Confirm numbness before starting.
Always use a rubber dam to isolate the tooth and prevent bacterial contamination.
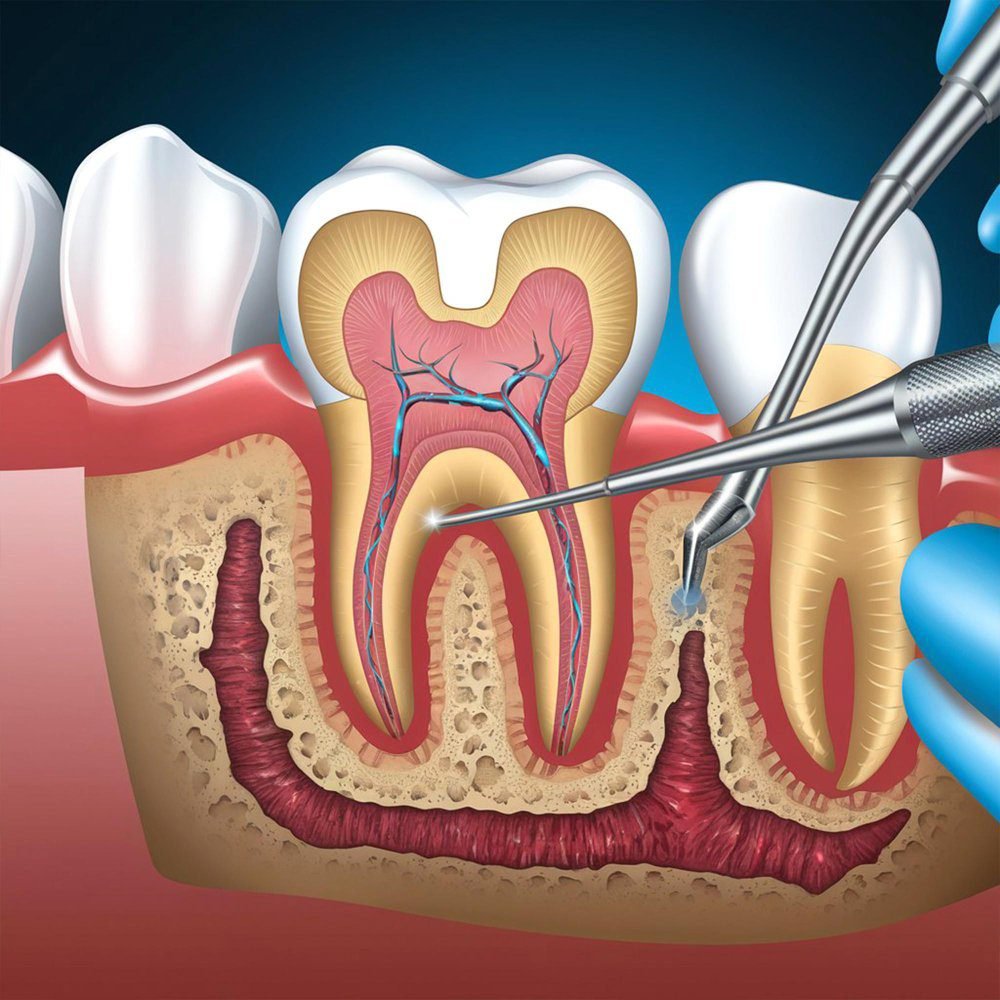
Step 3: Access Opening
Create an access cavity using a round bur with a high-speed handpiece.
Locate canal orifices using DG16 endodontic explorer.
Widen the access for better canal visibility and straight-line access.
Step 4: Working Length Determination
Insert a K-file into the canal.
Use an Apex Locator to measure the precise canal length.
Confirm with a radiograph for accuracy.
Step 5: Cleaning and Shaping the Canals
Use mechanical systems like ProTaper, WaveOne, or Reciproc.
Irrigate after each file with:
-
Sodium hypochlorite (2.5–5%)
-
EDTA 17% to remove the smear layer
-
Chlorhexidine (CHX) in select cases
Avoid forcing files; let the instrument do the work.
Step 6: Canal Drying
Use paper points that match the canal size.
Ensure complete dryness before obturation.
Step 7: Obturation (Filling the Canals)
Choose your obturation method:
-
Cold lateral compaction or warm vertical technique
-
Sealers such as AH Plus or bioceramic sealers
Cut off excess gutta-percha and verify with a post-op X-ray.
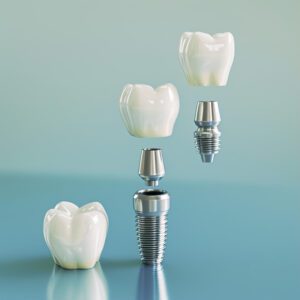
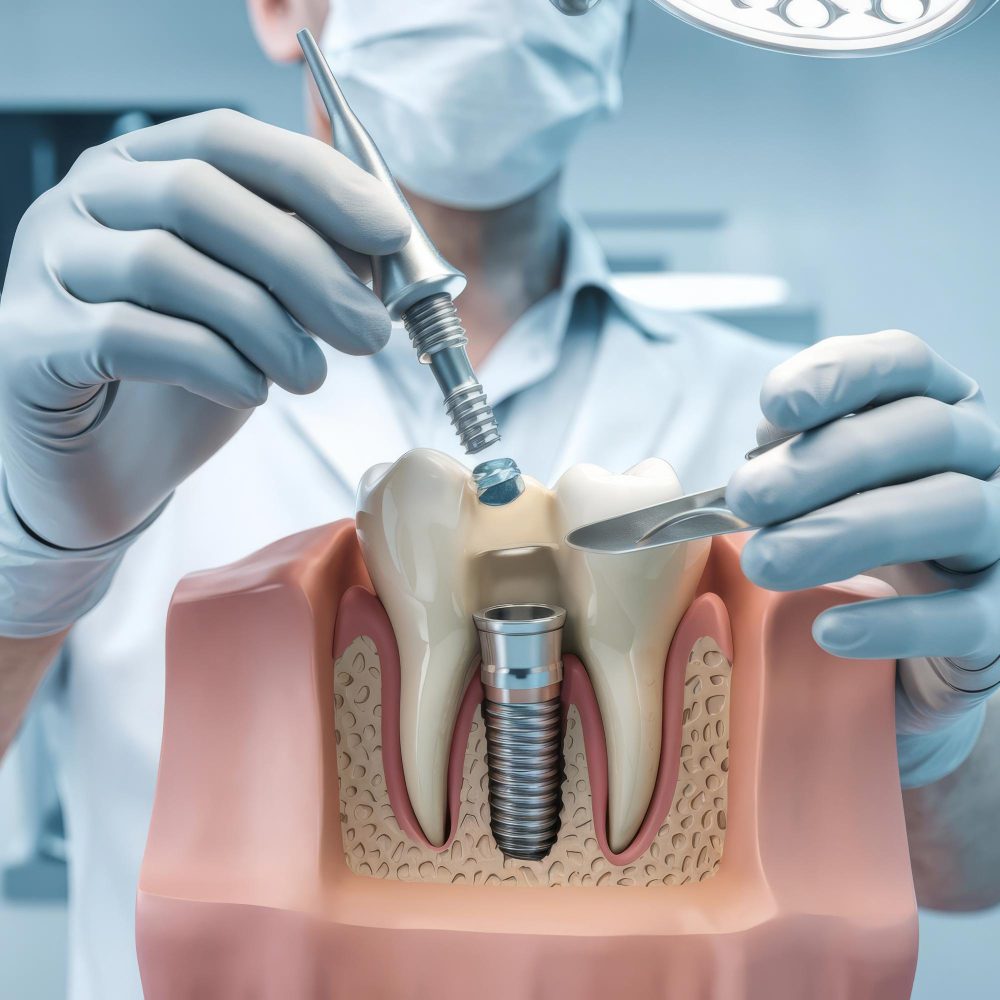
Step 8: Temporary or Permanent Restoration
Use a temporary filling like Cavit or IRM if final restoration isn’t immediate.
For permanent restoration, consider Post & Core or full crown, depending on remaining tooth structure.
Golden Tips for New Dentists:
✅ Don’t rush canal preparation; precision matters more than speed.
✅ Follow your protocol meticulously to minimize post-op pain.
✅ Refer complex cases to a specialist when in doubt.
Recommended Tools for Root Canal Treatment
-
NiTi file systems (e.g., Protaper Gold, VDW)
-
Warm obturation device (e.g., GuttaSmart, Elements)
-
Rubber dam kit
-
Dental magnification loupes (optional but highly recommended)
-
Apex Locator (e.g., Root ZX, Raypex)
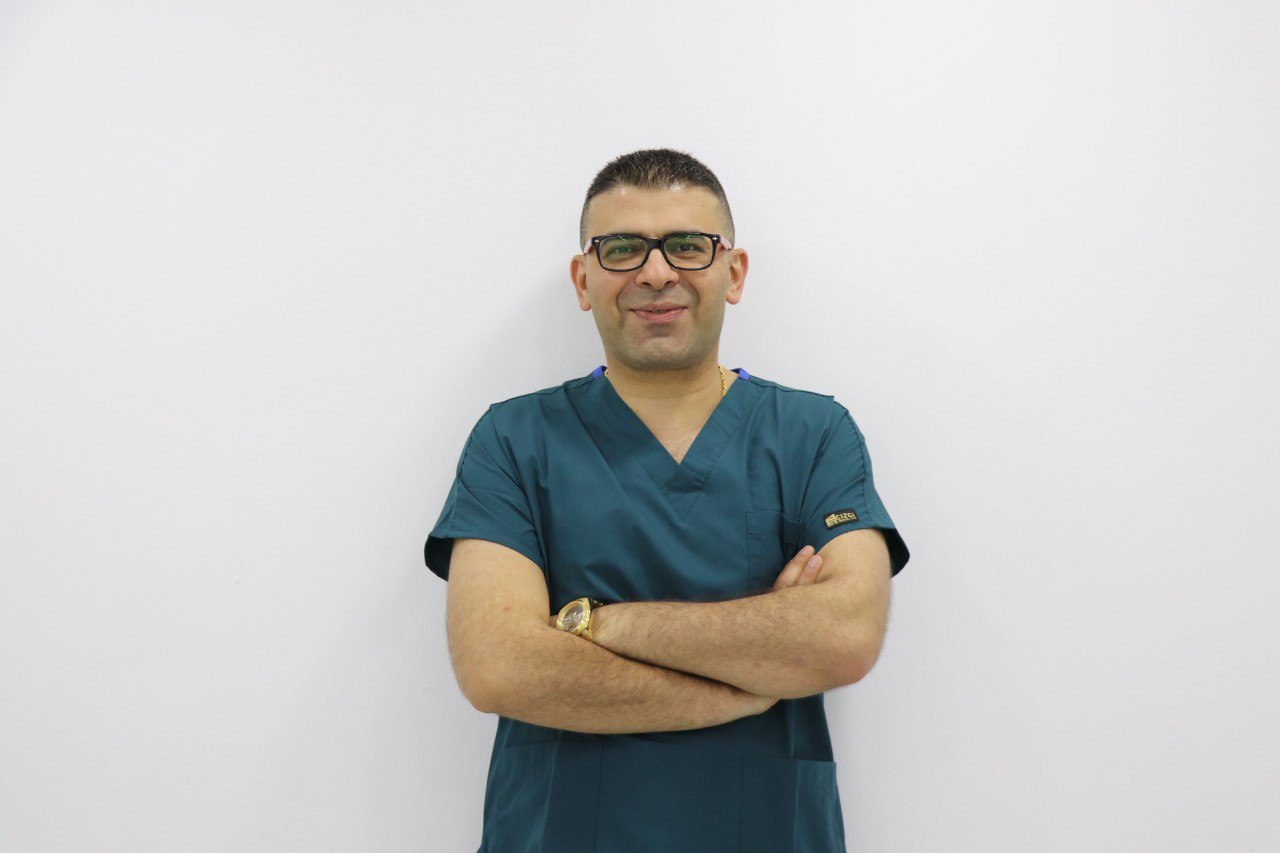
Best Root Canal Clinic in Istanbul, Turkey
If you’re looking for the best clinic in Turkey for root canal treatment, especially in Istanbul, look no further than Dr. Abdurrahman Öztürk’s Clinic.
🔹 Why Choose This Clinic?
-
Advanced microscopic endodontic systems
-
State-of-the-art apex locators and 3D obturation technology
-
Highly skilled and multilingual dental team
-
Excellent success rates and patient satisfaction
💡 Whether you’re a dentist seeking inspiration or a patient searching for top-tier care, Dr. Abdurrahman Öztürk’s Clinic offers a premium experience in the heart of Istanbul.
🌐 Visit the official website:
https://dr-abdurrahmanozturk.com
Conclusion
Root canal treatment is no longer the “scary” procedure it once was. With proper training and tools, it becomes one of the most rewarding aspects of clinical dentistry.
By mastering this protocol, you’ll gain confidence, reduce errors, and deliver lasting relief to your patients.


2 Responses